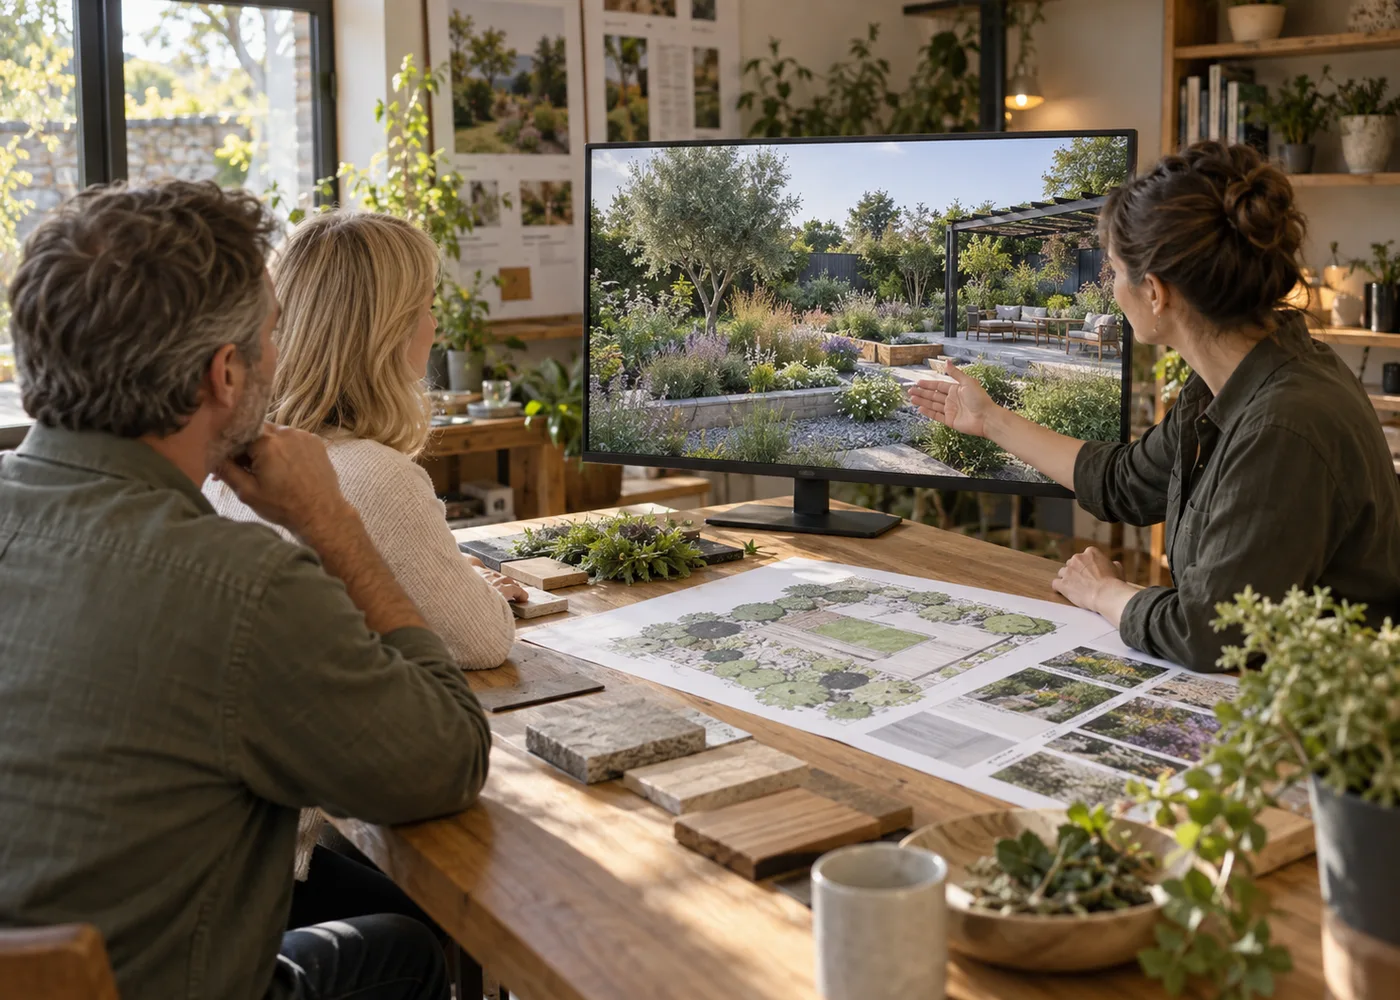
A useful diagnosis
Present a 3D Project Without Overselling It begins with a diagnosis, not a purchase. The main aim is showing assumptions, seasons and the limits of the rendering. Record what is certain, what changes with the weather and what still needs checking. That distinction prevents the whole project from resting on an impression formed on a single day.
Next consider reliable measurements, spot heights and the features genuinely being retained. Photograph the important points and place them on a dimensioned sketch. A simple but accurate drawing makes choices comparable; an attractive image without measurements cannot show whether the solution will genuinely fit the available space.
Build the solution
Define the essential function first, then add what makes it comfortable. Work from large to small: position, levels, access and volumes, followed only then by colours and finishes. For this subject, the decision must stay connected to showing assumptions, seasons and the limits of the rendering. If an addition serves neither use nor site, remove it from the first option.
Mark the proposal on site with string, stakes, pots or cardboard. Check especially a known dimension in every view, orientation and reference heights. Test from several directions and at a time when the space is genuinely in use. This rough prototype often exposes insufficient width or an overbearing volume before correction becomes expensive.
- Compare one variable at a time.
- Show plants at more than one age.
- Pair images with readable dimensions.
What to measure
The most common trap is a spectacular render that hides a scale error or technical constraint. Ask which assumption could be wrong: an approximate dimension, soil assumed to drain, a plant shown at the wrong size or a route drawn without people. Check that assumption before adding secondary detail.
Also plan a reversible step. A sample, small trial area or limited first phase provides more reliable evidence than a long abstract debate. Record the date, conditions and expected result so it remains clear why the solution was kept or changed.
Let the project evolve
A resolved result is visible when plans, sections and images all describe the same buildable project. Review the work just after installation, after substantial rain and at the change of season. Those three moments reveal build quality, water behaviour and the way the garden develops.
Keep a short adjustment list instead of starting again. Changing a height, moving a pot, reducing irrigation or allowing one season of growth may be enough. Present a 3D Project Without Overselling It then becomes a monitored, measurable decision rather than an image frozen on completion day.